
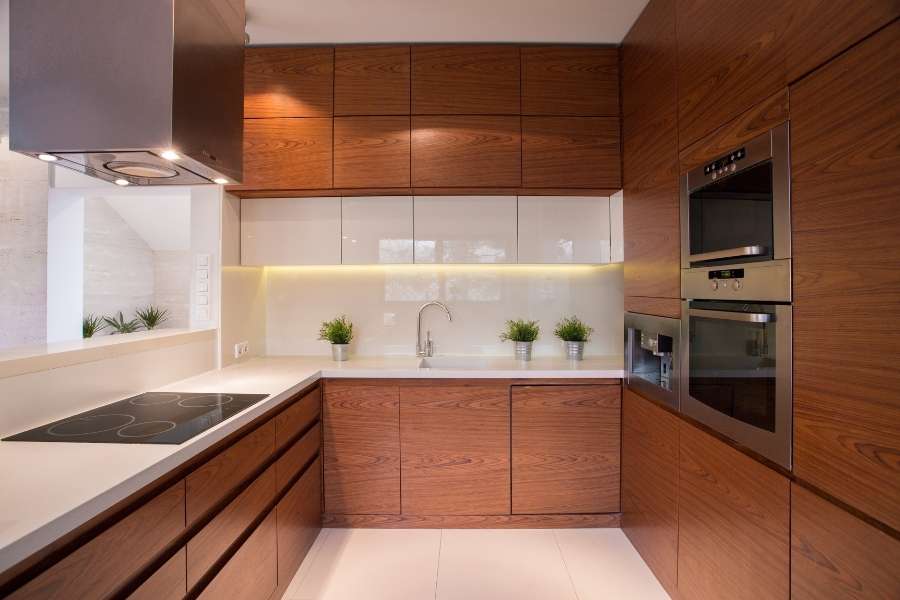
Tired of looking at worn out handles on your kitchen cabinet doors? Small hardware changes make a huge visual difference in any room. You do not need a big budget to modernize your home today.
Giving your kitchen cabinet fronts fresh handles changes the whole room fast. Old fixtures collect grease and look dull after years of daily use. New pieces bring instant light and modern charm to your space.
Replacing old hardware is a simple task for any homeowner. You can finish this whole home project in just one weekend.
Why Changing Your Hardware Creates a Big Visual Difference
Small details matter when you want to improve your living area. People notice tarnished metal across your wood surfaces right away. Swapping old pieces instantly brightens up your entire cooking area. Just like noticing heating system warning signs failing before a breakdown, catching small visual flaws early keeps your home looking great.
Pro Tip: Buy two or three test handles before placing a big order. Screw them onto a door to see how they look in sunlight.
Doing this work yourself saves money and gives you full creative control. You can clean hidden grime and align doors while changing parts.
| Upgrade Method | Typical Cost Range | Time Needed | Visual Result |
| Full Cabinet Replacement | $8,000 to $20,000 | 2 to 4 Weeks | Very High |
| Professional Cabinet Refactoring | $3,000 to $7,000 | 1 to 2 Weeks | High |
| Hardware and Accent Swap | $100 to $400 | 3 to 6 Hours | Very High |
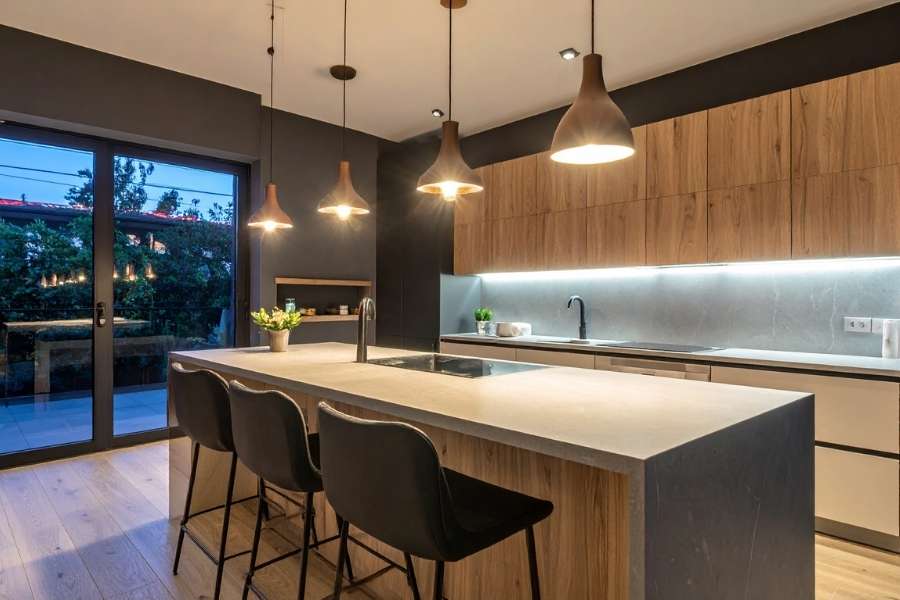
1. Swap Out Old Knobs for Modern Drawer Pulls
Traditional cabinet knobs often look dated on modern wood frames. Replacing them with modern drawer pulls adds clean structural lines. These sleek handles pull the eye across your cabinets to create depth. Much like spotting early signs boiler needs professional attention, fixing small hardware details keeps everything functioning smoothly in your home.
Take time to select handle lengths that match your door sizes well. Wide handles fit large drawers best for balanced proportions and easy gripping.
- Check drawer width: Large drawers look best with wider handles attached.
- Keep grip room: Leave enough space for your fingers behind the bar.
- Avoid collisions: Check corner doors to ensure new handles do not hit.
Upgrading your kitchen cabinet doors with sleek handles creates a custom look. It requires only standard household tools and simple effort to complete.
2. Measure Hole Spacing Accurately to Avoid Mounting Mistakes
Drilling wrong holes into clean wood creates frustrating mistakes on projects. You must learn how to measure hole spacing for new cabinet pulls properly. Measure from the middle of one screw hole to the other.
+-----------------------------------------------------------------+
|               MEASURING CENTER TO CENTER DISTANCE               |
|                                                                 |
|         ( Center Hole 1 ) <---- Distance ----> ( Center Hole 2 )|
|                 |                                  |            |
|                 v                                  v            |
|          [  Screw Hole  ]                  [  Screw Hole  ]     |
+-----------------------------------------------------------------+
Using a plastic hardware template helps you mark new hole positions easily. This cheap guide aligns against door edges to ensure perfect drilling alignment.
Gather these key items before you start working on your project:
- A clear tape measure marked with metric and imperial units.
- A clear acrylic hardware template for repeatable hole marks.
- A simple manual screwdriver to prevent wood damage.
- A power drill equipped with the right drill bit size.
Using a manual screwdriver for final tightening keeps threads intact without stripping. It protects delicate wood faces from splitting under excess pressure.
3. Combine Metallic Finishes for a Stylish Designer Style
Matching every single metal piece in your room is no longer necessary. Mixing warm metal accents with cool tones creates depth and contrast naturally. Choosing brushed brass adds a soft glow that makes rooms feel welcoming.
When working on light wood, search for the best matte black hardware for white kitchen cabinets. Dark metal on white surfaces creates striking contrast that looks clean.
| Wood Finish Color | Recommended Hardware Finish | Visual Style Effect |
| White or Cream | Matte black or brushed brass | High contrast or soft luxury |
| Navy or Charcoal | Satin nickel or brushed brass | Clean look or classic warmth |
| Oak or Walnut | Matte black or bronze | Natural modern or rustic charm |
Stick to two metal finishes when updating your kitchen cabinet accents. Keeping finish choices simple prevents your room from looking messy or cluttered.
4. Fix Old Mounting Holes Before Installing New Hardware
New handle layouts often leave old mounting holes exposed on doors. Learning how to fill old screw holes before updating hardware fixes this. You can change hole patterns without leaving ugly marks behind on wood.
STEP 1: Clean out loose dust from the old screw hole.
  │
  ▼
STEP 2: Insert wood filler or a wood plug into the hole.
  │
  ▼
STEP 3: Let the compound dry completely according to package rules.
  │
  ▼
STEP 4: Sand the area smooth with fine grit sandpaper.
  │
  ▼
STEP 5: Touch up the area with matching paint or stain.
  │
  ▼
RESULT: A flat surface ready for fresh drilling!
Important Note: Never drill a new hole right next to an empty old hole. The drill bit will slip into the void and ruin alignment.
Repairing old holes properly keeps your kitchen cabinet surfaces looking fresh. Taking these small steps guarantees strong mounting points for your new hardware.
5. Adjust Door Hinges for Perfect Line Alignment
New handles will not look straight if your doors hang crookedly today. Adjusting your cabinet hinges ensures your whole layout looks neat and level. Modern concealed hinges have built-in adjustment screws for quick alignment tweaks.
- Vertical screw: Moves the door up or down easily.
- Horizontal screw: Shifts the door left or right to level gaps.
- Depth screw: Adjusts how close the door sits to frames.
Adjusting every kitchen cabinet door creates clean straight lines across your space. It gives your DIY project a clean and polished finish.
| Step Number | Main Task | Required Tool |
| 1. Preparation | Remove old parts and clean wood faces completely. | Microfiber cloth and cleaner |
| 2. Surface Repair | Fill old unused holes and let compound dry. | Wood filler and sandpaper |
| 3. Hole Marking | Mark holes using a template guide accurately. | Hardware template and drill |
| 4. Installation | Screw in new handles securely by hand. | Handheld manual screwdriver |
| 5. Final Check | Adjust hinges until all doors hang straight. | Standard screwdriver |
FAQ
How do I clean my metal handles safely without ruining the finish?
Use a soft cloth with warm water and mild soap. Avoid harsh chemicals, bleach sprays, or rough pads. These products damage protective clear coats and cause dark stains over time.
What should I do if included screws are too short for my drawers?
Drawer fronts are often thicker than door panels. You can buy longer breakable screws at local hardware stores. These screws snap to your exact required length with pliers easily.
Should I use knobs or pulls on my upper doors?
You can choose based on your personal style preference. Using pulls on lower drawers offers strong leverage. Placing small knobs on upper doors keeps small rooms looking light and spacious.
How do I stop my new handles from coming loose over time?
Apply a drop of thread locker liquid to screw threads before installing. This holds screws firm against daily pulling without damaging metal threads.
