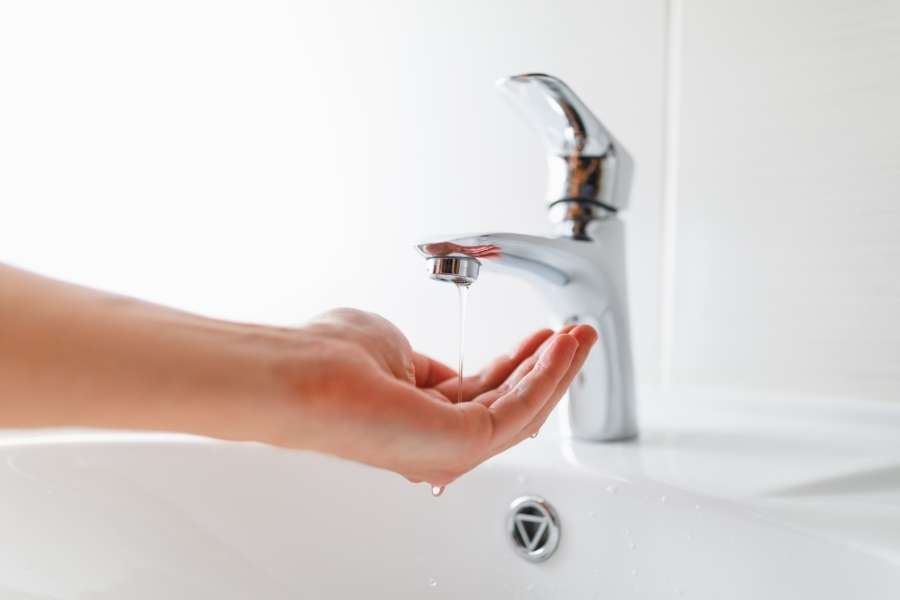
Few things ruin a morning faster than stepping into a weak shower trickle. You want an invigorating stream to wake you up. Instead, you get an annoying drip that barely rinses off soap. Dealing with persistent low water pressure is frustrating. Thankfully, you can fix this issue fast without expensive tools or guesswork.
Household water flow drops for specific mechanical reasons. Minerals clog tiny nozzles. Old valves stick over time. Hidden filters trap loose pipe sediment. Sometimes the main regulator needs a quick calibration.
Let us diagnose the true source of your low flow. You can systematically test your hardware today. We will walk through proven fixes to restore your shower right now.
Finding the Root Cause of Weak Water Flow
Before taking tools to your shower wall, locate the exact bottleneck. Water moves through many pipes and valves to reach you. Any restriction along the path immediately reduces flow volume. Testing other fixtures in your home isolates the root issue quickly. Modern homes often integrate dedicated plumbing solutions for water conservation that inadvertently alter delivery volume. Is the problem isolated to one bathroom? Or does the entire house suffer from low flow?
Localized Loss Versus Whole-House Drops
Start by turning on all the faucets around your home. Check the kitchen sink, bathroom basins, and the outdoor hose spigots. Notice whether the water comes out with strong force. If other faucets spray with high volume, your plumbing lines are fine. The restriction sits squarely inside that single shower assembly. You will not need to touch the main water lines. When every single faucet in the house runs weakly, look elsewhere. Your incoming supply line or main valve is restricted. In standard homes, normal plumbing pressure ranges between 40 and 80 PSI. Anything below 40 PSI causes weak showers across every bathroom.
The Impact of Hard Water Minerals and Rust
Hard water carries dissolved calcium and magnesium through your supply pipes. When heated water evaporates, these minerals leave behind a hard white crust. Plumbers refer to this stubborn chalky buildup as lime scale. Mineral crust slowly coats the tiny spray holes inside your showerhead. Over months of use, the openings become noticeably smaller. The water simply cannot pass through the blocked exits. Tiny sediment grains also travel through residential municipal water pipes. Rust flakes break away from aging water heaters. Crumbling rubber gaskets enter the stream as well. These bits lodge tightly inside small screens, quickly choking off overall water flow.
Practical Fixture Fixes to Boost Shower Pressure
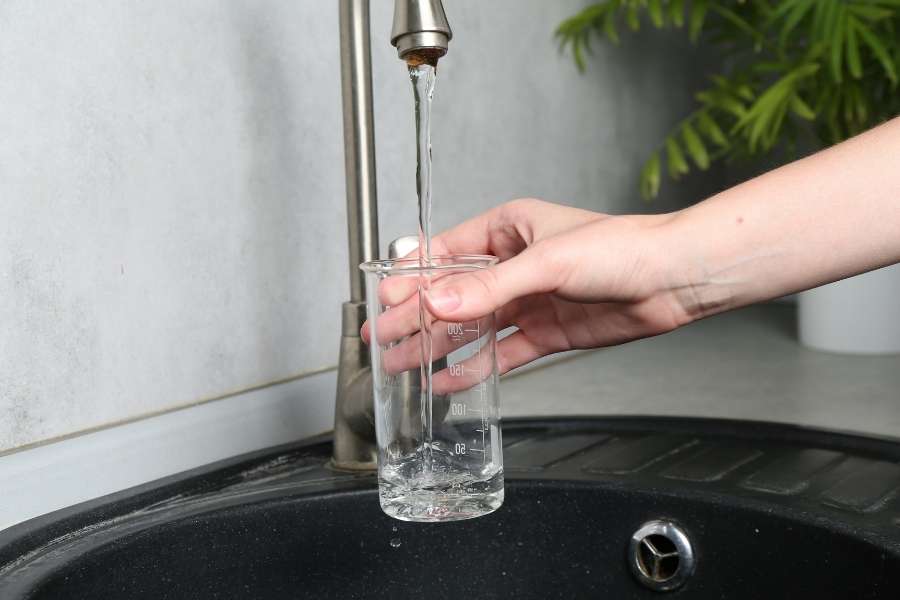
When only one shower runs poorly, focus entirely on the fixture. Modern showerheads contain several layered components. Each piece can easily trap floating dirt and mineral scale. Water supply lines inside walls require careful moisture management. In fact, damp pipe spaces can compromise insulation types that hold water the longest if small leaks develop unnoticed. You can service these external fixture parts with basic tools. Most fixes take less than thirty minutes to complete. Let us start with the simplest fixture adjustments.
Cleaning Your Showerhead with Household Vinegar
Mineral buildup is the most common reason for weak spray patterns. You do not need hazardous chemicals to dissolve hard crust. Standard kitchen white vinegar breaks down calcium deposits safely and effectively. Knowing how to clean clogged showerhead nozzles with vinegar saves money. It brings old, neglected fixtures back to peak performance quickly. First, unscrew the showerhead from the threaded wall pipe arm. Wrap the metal fitting in a cloth to prevent scratches. Soak the entire fixture in a bowl filled with warm white vinegar. Let it sit submerged for around ninety minutes. The mild acid dissolves the hard mineral bonds without harming finishes. Next, scrub the flexible rubber face with a stiff toothbrush. Poke any stubborn blocked holes with a wooden toothpick. Rinse the head thoroughly with clean water before reinstalling it.
Clearing Sediment from the Internal Aerator Screen
Take a look inside the threaded connector of your showerhead. Modern units feature a tiny metal or plastic mesh filter. This specific part is called the aerator screen. The screen catches large sand grains and pipe rust flakes. This keeps dangerous debris from entering the tiny spray channels. Over time, that caught grit creates a dense wall. Pry the small screen out using needle-nose pliers or tweezers. Hold the mesh under a running faucet to wash away grit. Scrub the wire surface gently with an old toothbrush. Reinsert the clean filter to instantly improve your fixture output.
Checking the Internal Water Flow Restrictor
Building codes require manufacturers to limit modern shower output rates. Standard showerheads use internal flow restrictors to conserve water. These small plastic discs sit directly behind the mesh filter. Restrictors work well in homes with strong baseline water pressure. However, they cause problems in homes with lower baseline PSI. The tiny openings throttle an already modest water supply down significantly. Inspect the neck of your showerhead for a colorful plastic disc. Check if dirt or mineral scale clogs the tiny holes. Cleaning debris off the restrictor disc often restores a strong spray pattern. You can also switch to an adjustable high-velocity showerhead. These models compress low-volume water into narrow, forceful streams. They deliver an invigorating shower without requiring excessive water consumption.
Fixing Deep Valve and Cartridge Blockages
Sometimes your showerhead is spotless, but the water still trickles out. In that case, the problem hides inside your wall. Behind your shower handle sits a complex mixing valve cartridge. This valve controls both water temperature and overall volume. When it wears out or fills with grit, pressure drops fast.
Understanding Pressure-Balancing Valve Mechanics
Single-handle showers use specialized cartridges containing pressure-balancing spools. These safety devices protect you from sudden scalding hot spikes. They react instantly when nearby toilets flush or appliances run. The internal spool shifts to balance hot and cold water supplies. It keeps the shower temperature stable and comfortable at all times. This mechanism relies on delicate internal sliding parts with tiny clearances. Because the tolerances are tight, moving parts seize easily. Mineral buildup causes the balancing spool to stick in place. When stuck, the spool throttles the line, restricting water output severely.
Replacing a Blocked or Faulty Cartridge
Mineral buildup inside the valve body causes a severe cartridge blockage. The valve remains partially shut even when you turn the handle fully. Homeowners often ask, “why has my shower water pressure dropped suddenly?” A seized balancing spool inside the cartridge is almost always the answer. Replacing this internal cartridge restores proper flow to your showerhead. Start by shutting off your bathroom stops or your home main supply valve completely. Pop off the index cover cap, loosen the screw, and pull the handle off. Use pliers to remove the brass clip holding the cartridge in the valve body. Pull the plastic cartridge straight out using a cartridge puller tool. Flush out the valve cavity before sliding the new cartridge inside. Apply a thin layer of silicone plumber grease to the rubber seals. Insert a matching new cartridge, secure the retaining clip, and reinstall your handle. This quick repair ensures smooth temperature adjustments and strong water delivery.
Adjusting Whole-House Plumbing Controls
When every tap in your house suffers from low flow, look elsewhere. The issue lies at your main supply line or control valves. Finding the best ways to fix low water flow at home requires checking these main entry points. You do not need to call a plumber right away. Start by inspecting your shut-off valves and your home regulator.
Checking Main Shut-Off Valves for Restrictions
Your home has at least one primary main shut-off valve. It sits where the municipal supply line enters your foundation. Sometimes technicians turn these valves off during routine plumbing maintenance. If someone reopens the valve only partially, water flow drops drastically. The restricted opening limits the total volume entering your home. Check your main valve right now to verify its current position. Ball valves feature a long metal lever handle. Ensure the lever sits perfectly parallel to the metal water pipe. Older homes often feature gate valves with round wheel handles. Turn these wheel handles counter-clockwise until they stop moving completely. Fully open valves ensure unrestricted water delivery to every bathroom.
Calibrating Your Main Pressure Regulator
Most homes connected to city water supplies have a special bell-shaped device. This brass fitting is your residential pressure regulator. It reduces high street line pressure to safe indoor levels. Regulators protect your water heater and pipe connections from high pressure damage. Over years of service, the internal spring mechanism loses tension. A worn spring causes household water pressure to decline steadily. Knowing how to adjust home water pressure regulator devices helps restore full flow. Locate the threaded adjustment screw sticking out from the top of the brass bell. Use an adjustable wrench to loosen the exterior locking nut on the shaft. Turn the central screw clockwise using a screwdriver or wrench to raise delivery pressure. Attach a water pressure gauge to an outdoor spigot to test current levels. Tighten the lock nut back down once pressure reads between 50 and 60 PSI. Never set your home water pressure higher than 75 PSI. Excessive pressure strains rubber appliance hoses, seals, and pipe joints. Keeping pressure balanced protects your plumbing while providing strong, comfortable showers.
Upgrades for Chronic Low Water Pressure
Some homes suffer from chronic supply limitations that valve tuning cannot solve. Houses built on private wells often face naturally low delivery volume. Homes at the high end of city supply loops face similar challenges. Older houses with original metal pipes also struggle with severe restrictions. These situations require mechanical upgrades or pipe replacements to solve permanently.
Installing an Auxiliary Water Booster Pump
When city lines or well systems deliver weak pressure, add a booster pump. These compact electric units install directly on your incoming main water pipe. Booster systems feature a powerful pump, a small expansion tank, and pressure sensors. The sensor detects whenever a faucet or shower opens inside your home. The pump activates instantly to boost water pressure across the house. It maintains a steady 55 to 65 PSI throughout your plumbing system. Multiple showers can run at the same time without losing any force.
Replacing Heavily Corroded Galvanized Pipes
Homes built before 1960 often feature original galvanized steel water lines. Over decades, these iron pipes rust heavily from the inside out. Rust deposits build up thick layers along the interior pipe walls. This corrosion chokes standard water lines down to narrow channels. Chemical flushes cannot dissolve decades of thick, hard iron rust. If your water runs brown after vacations, your steel pipes are corroded. Replacing old galvanized lines with modern PEX or copper is the only permanent solution. Repiping restores proper line diameter, protects clean water quality, and maximizes shower force.
Frequently Asked Questions
Why does my shower pressure suddenly drop when someone turns on another tap in the house?
This drop happens when your supply pipes are too narrow for the load. Shared water volume drops whenever a second fixture pulls water from the line. Installing modern pressure-balancing valves and widening main distribution pipes solves this issue.
Can regular vinegar damage the finish of my designer showerhead?
Distilled white vinegar is safe for chrome, stainless steel, and brushed nickel. However, delicate finishes like matte black and oil-rubbed bronze can discolor if soaked too long. Limit soaking times to twenty minutes for delicate finishes and rinse thoroughly with clean water.
How do I know if my showerhead flow restrictor is clogged or just working normally?
A clean restrictor produces a smooth, steady, and uniform spray pattern from all nozzles. If the spray shoots sideways, hisses loudly, or sputters unevenly, sediment clogs the restrictor. Unscrewing the head and rinsing the internal disc will restore normal operation.